Documentation (link)
Was given to me Christmas 2017 by William Petefish
Thoughts of Digitalw00t
Requirements from Bil Henry at Kollegetown
ktforms.com
ktown.com
Ruby native to RHEL
RHEL7:
NOTE: I had to do the install without 3rd party applications or I would just get a blank screen with a cursor on it.
I was asked to do this from a friend of mine. I wanted to learn Autodesk Fusion 360 and wanted to help so it was a win win.
Fusion 360 Project:
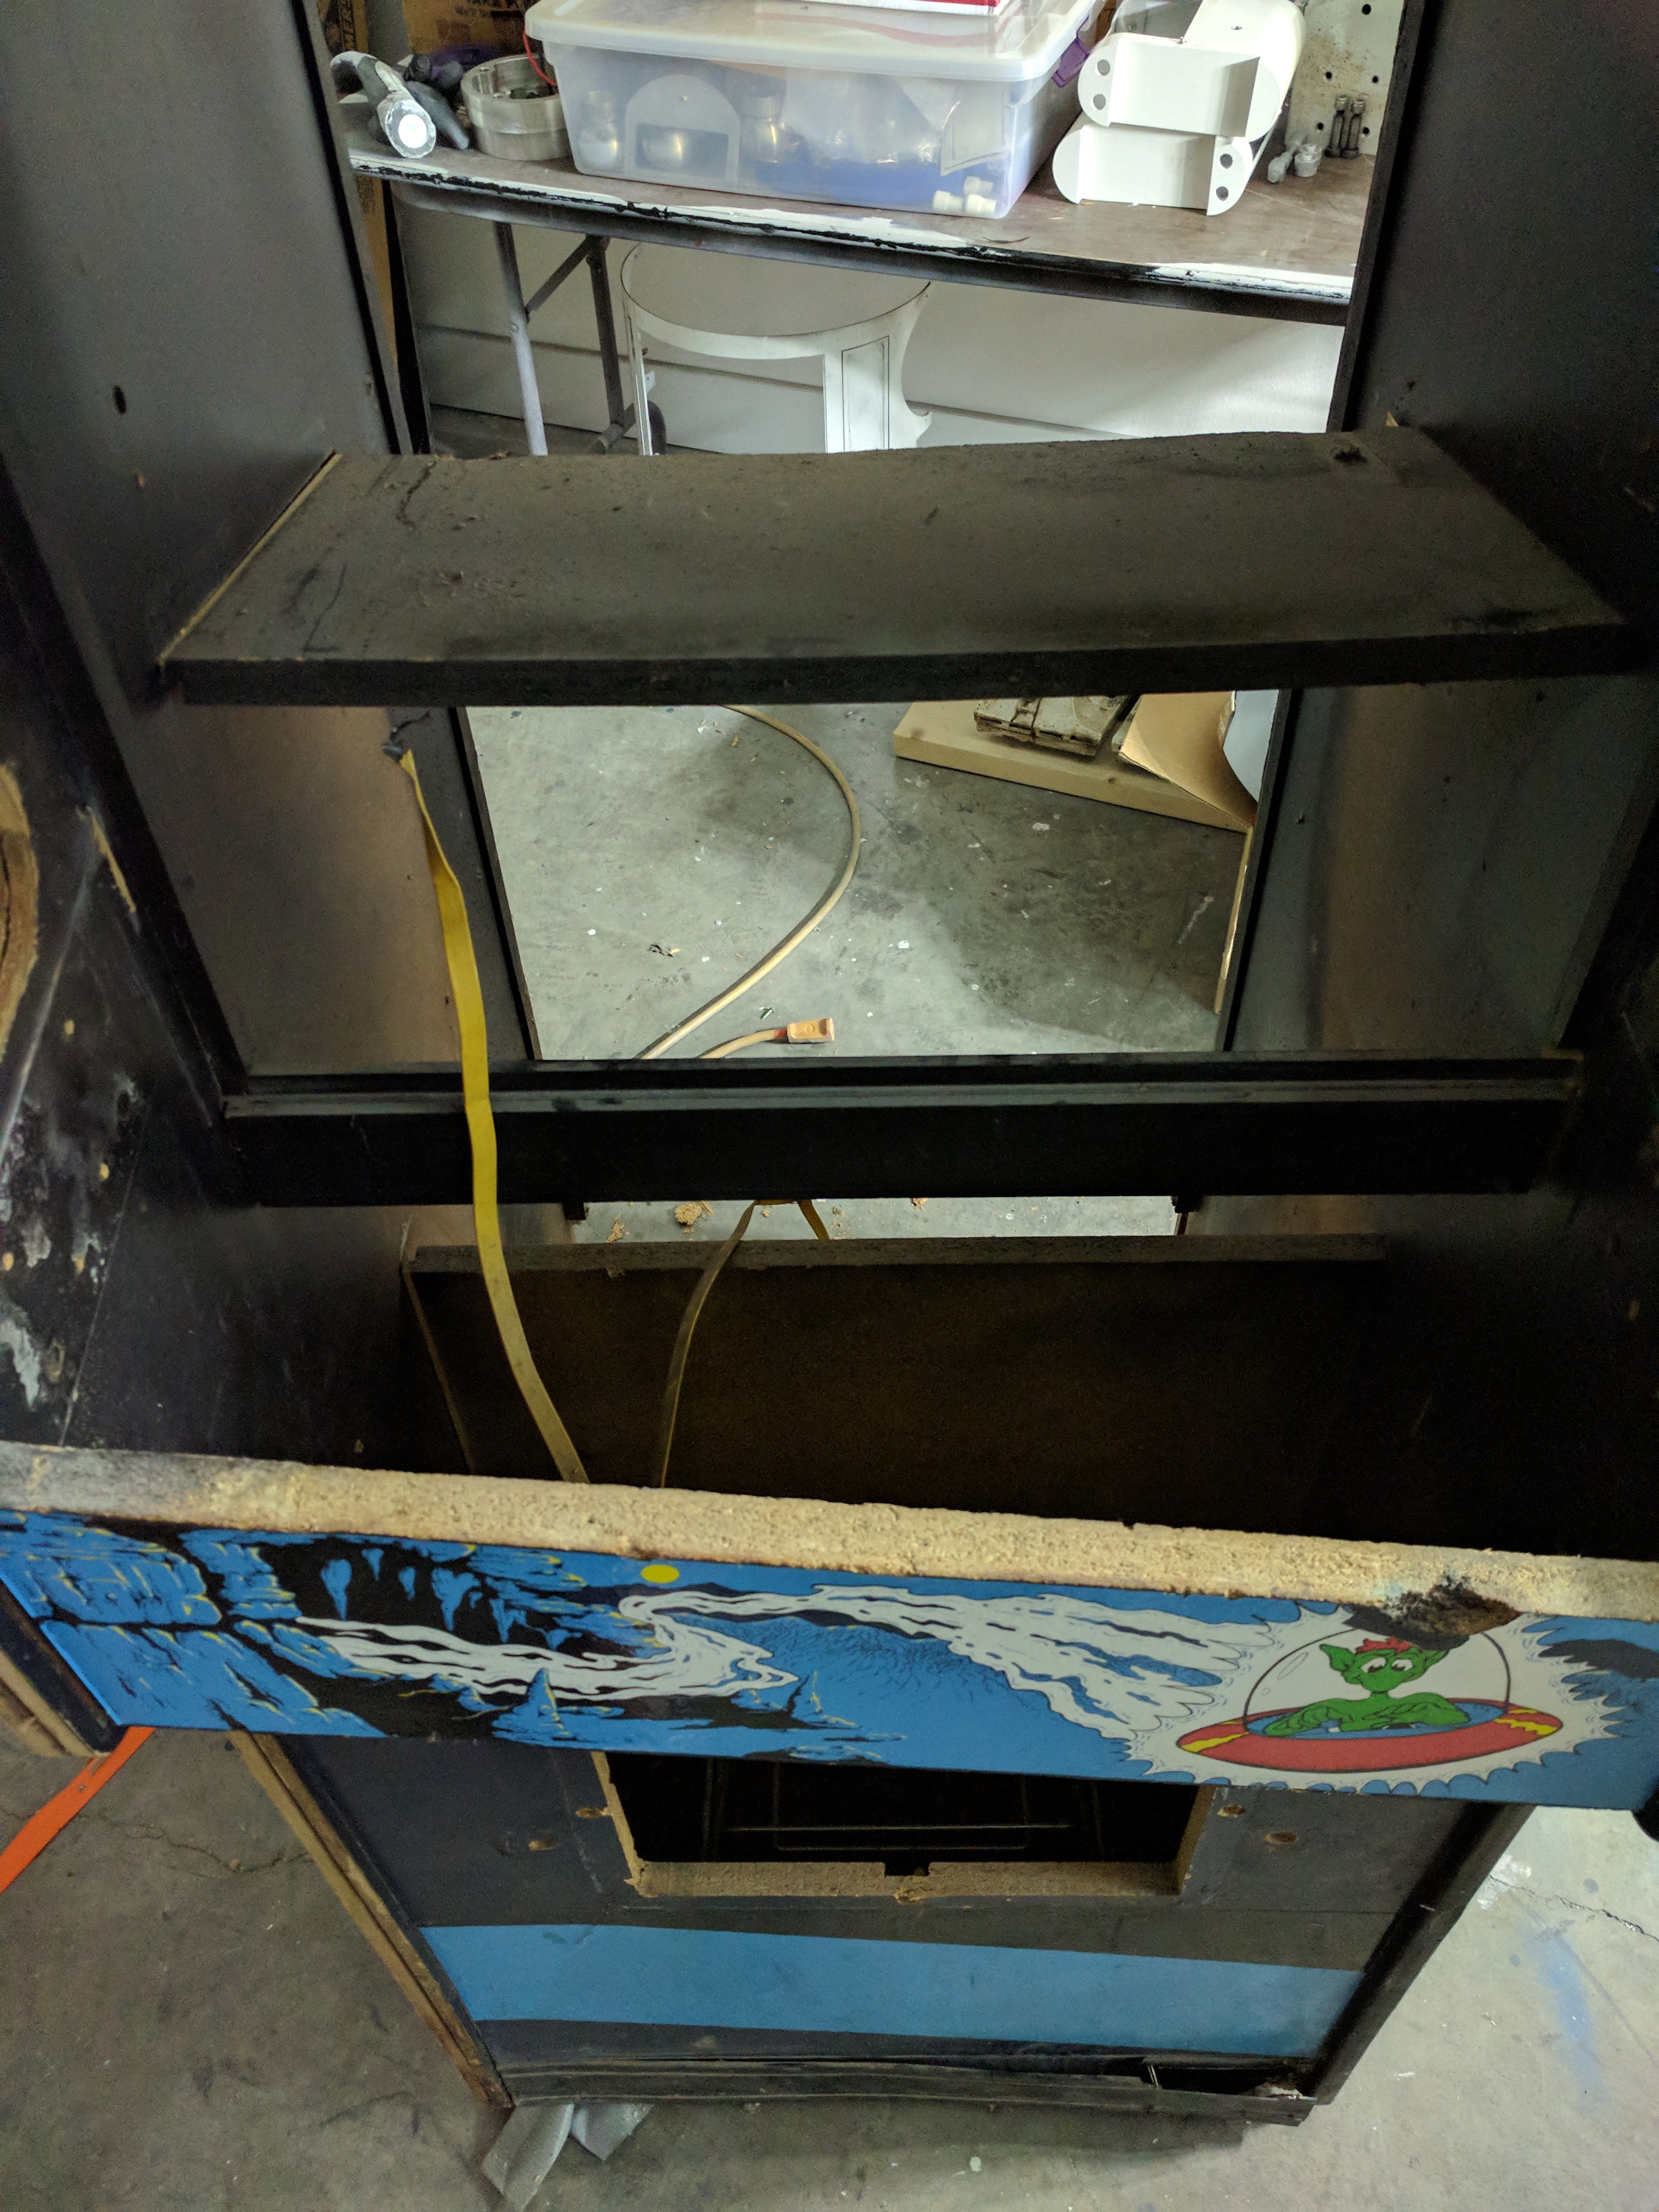
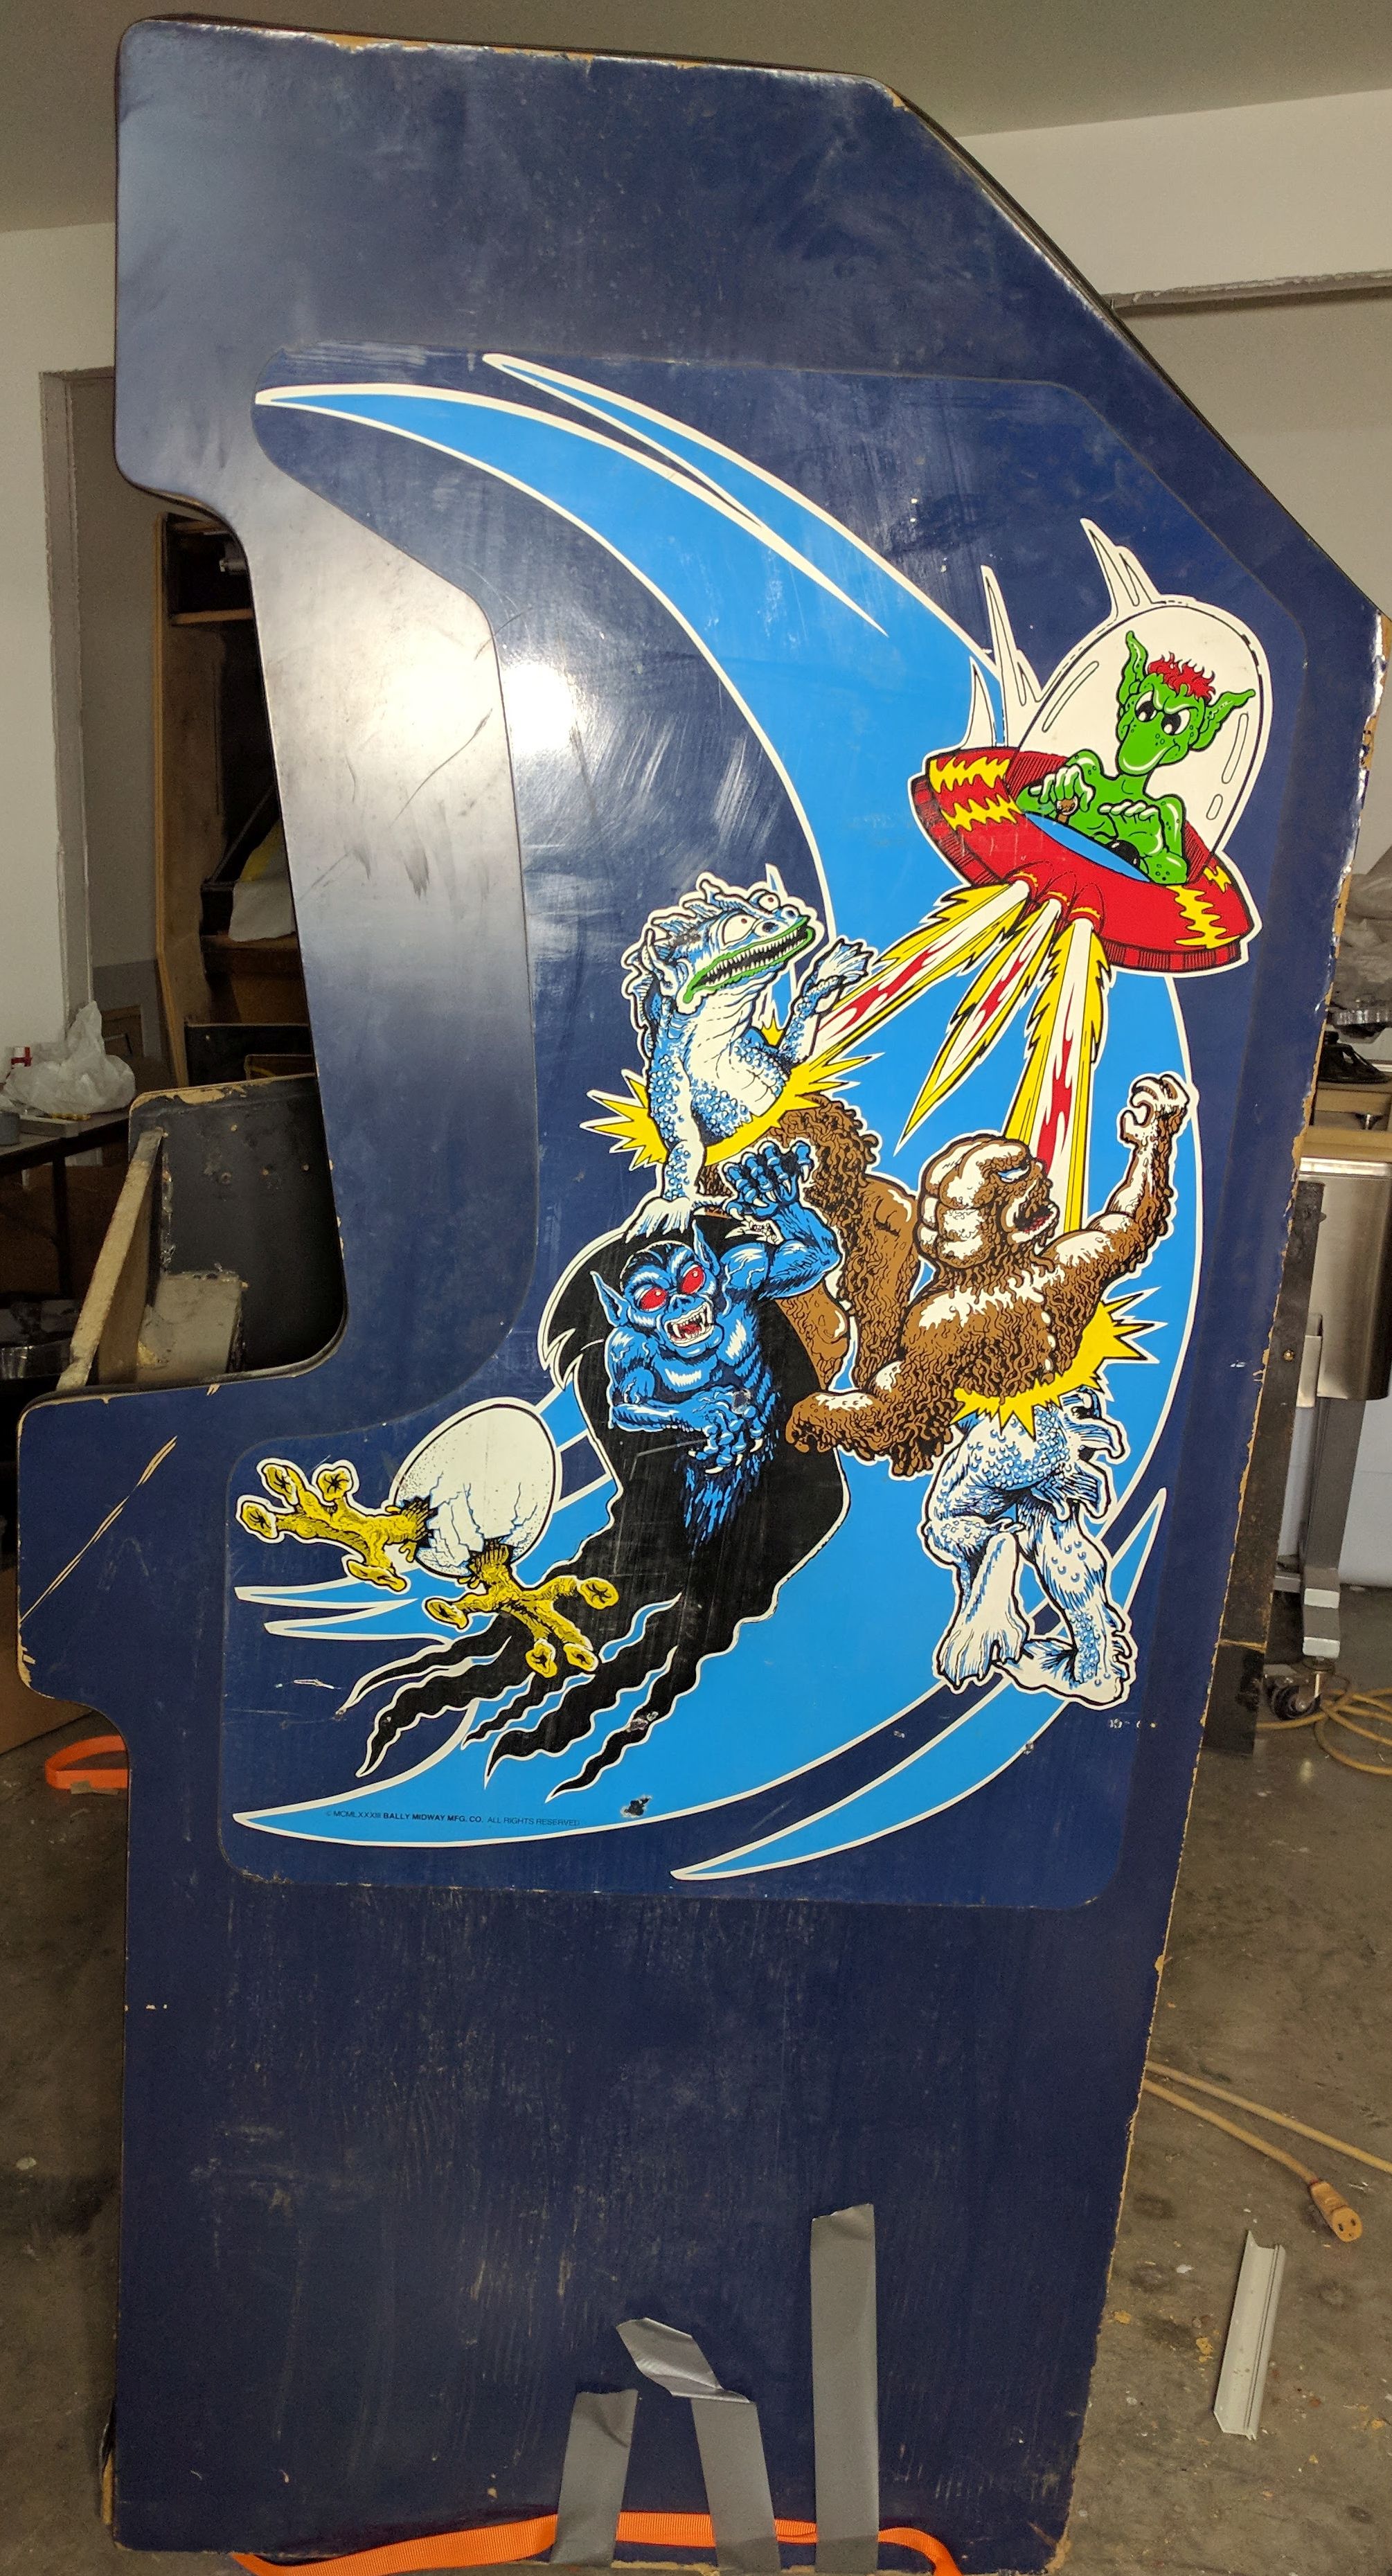
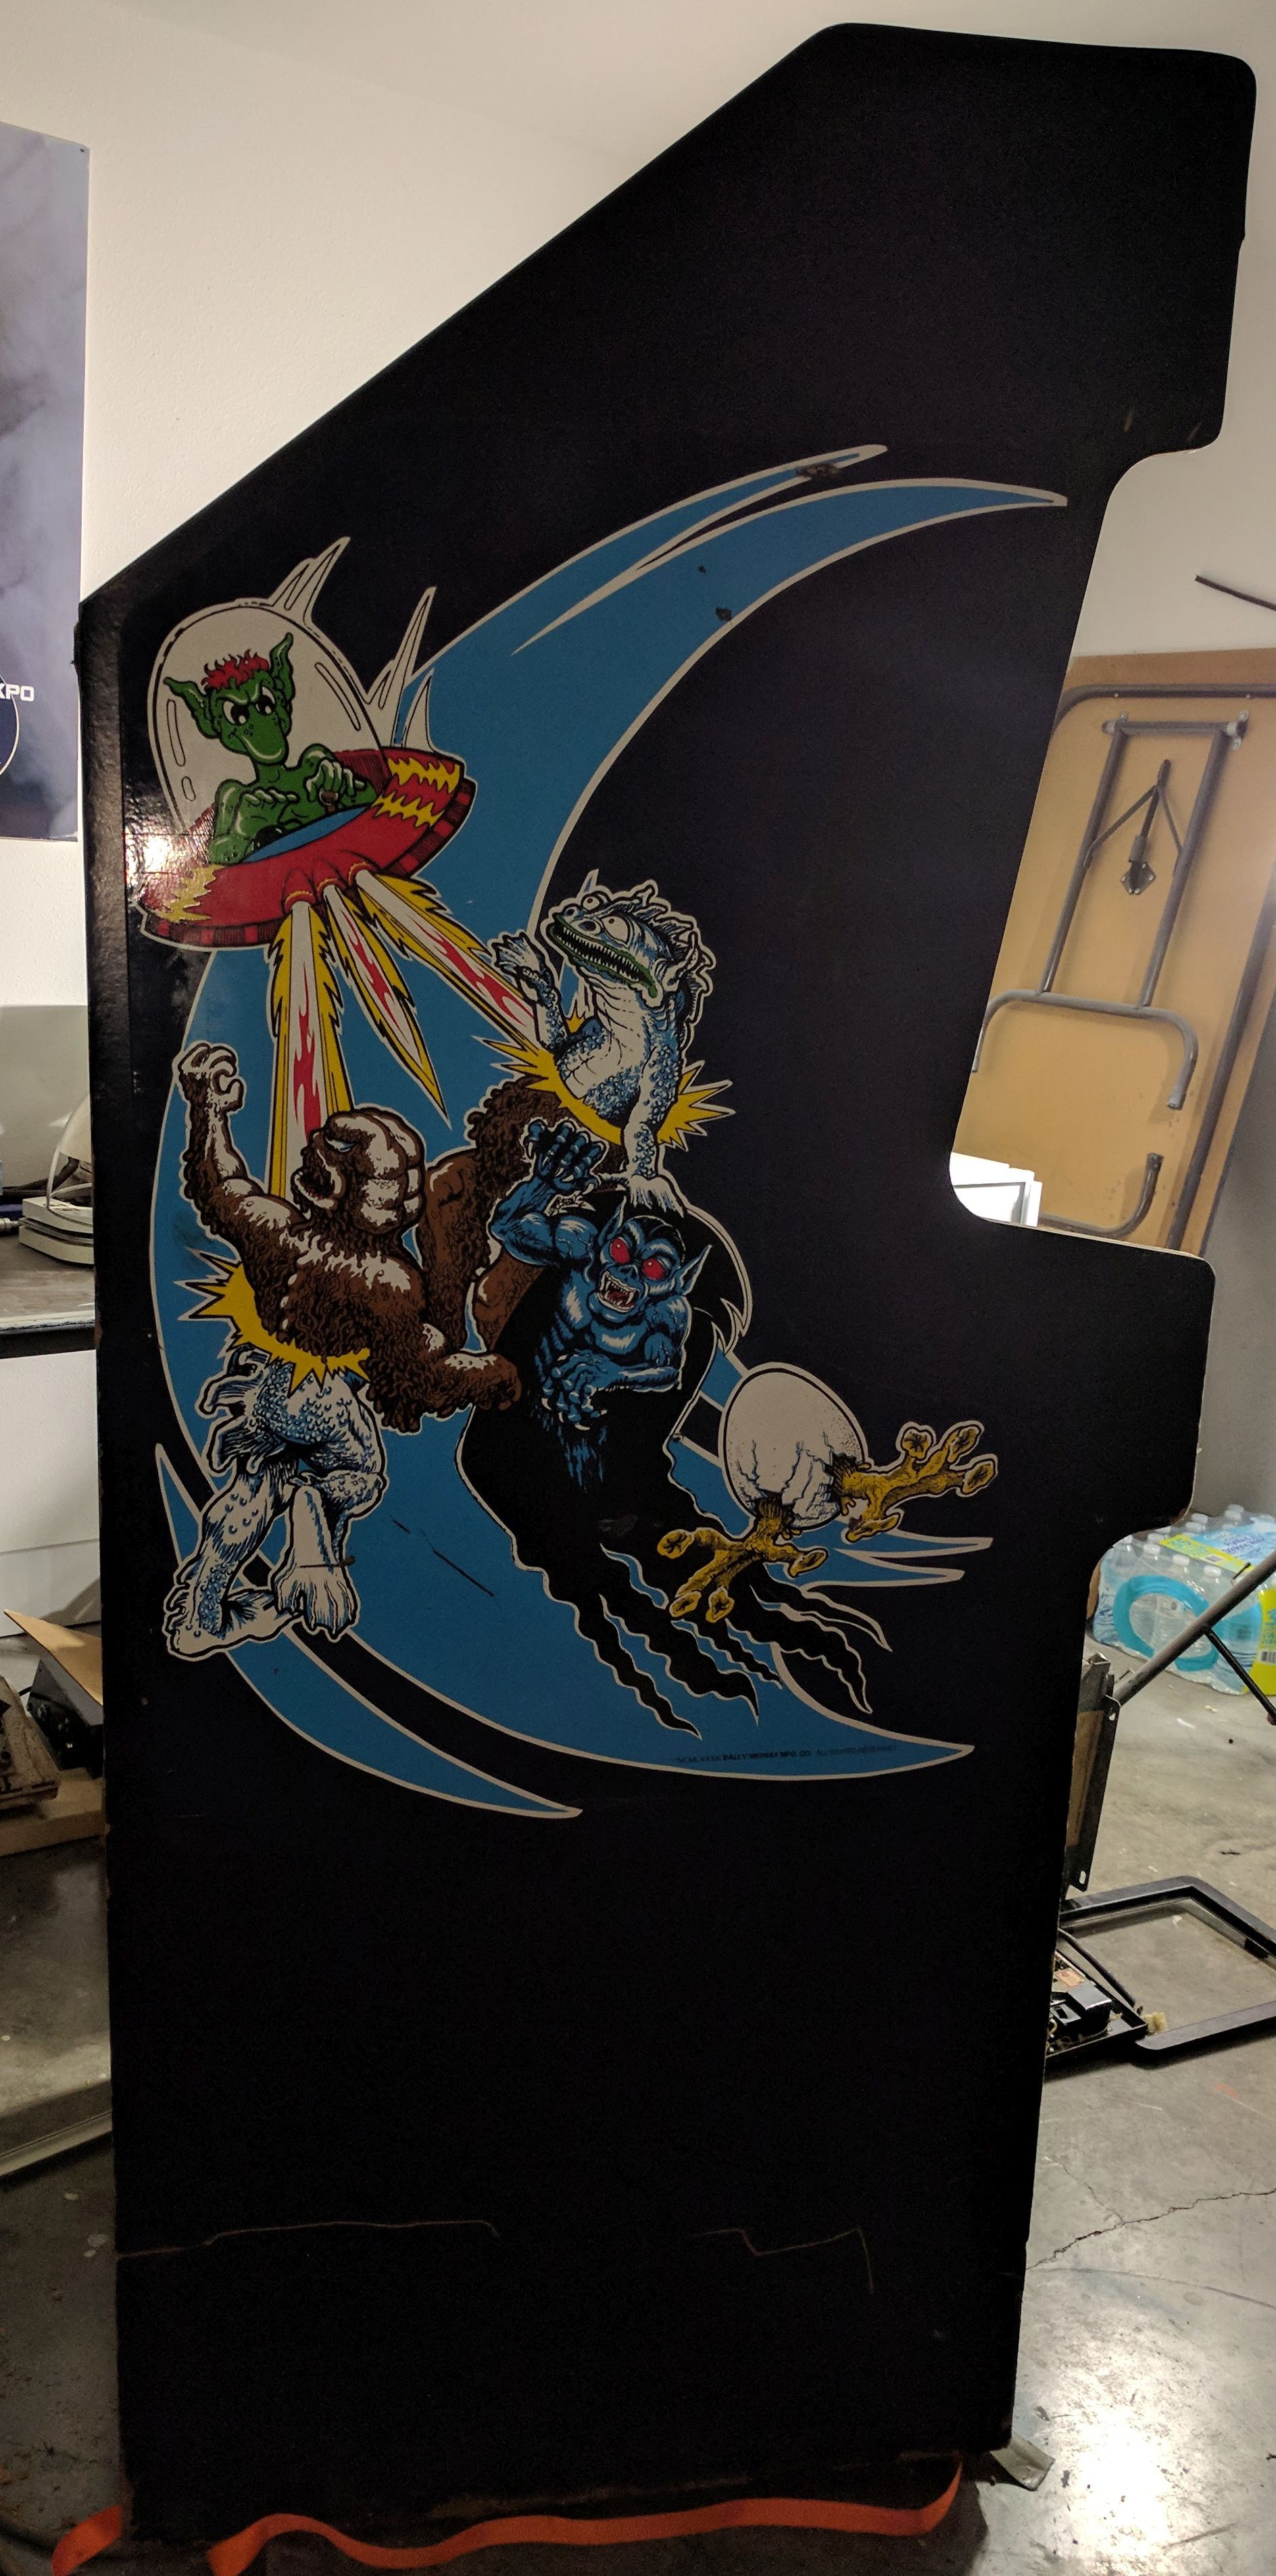
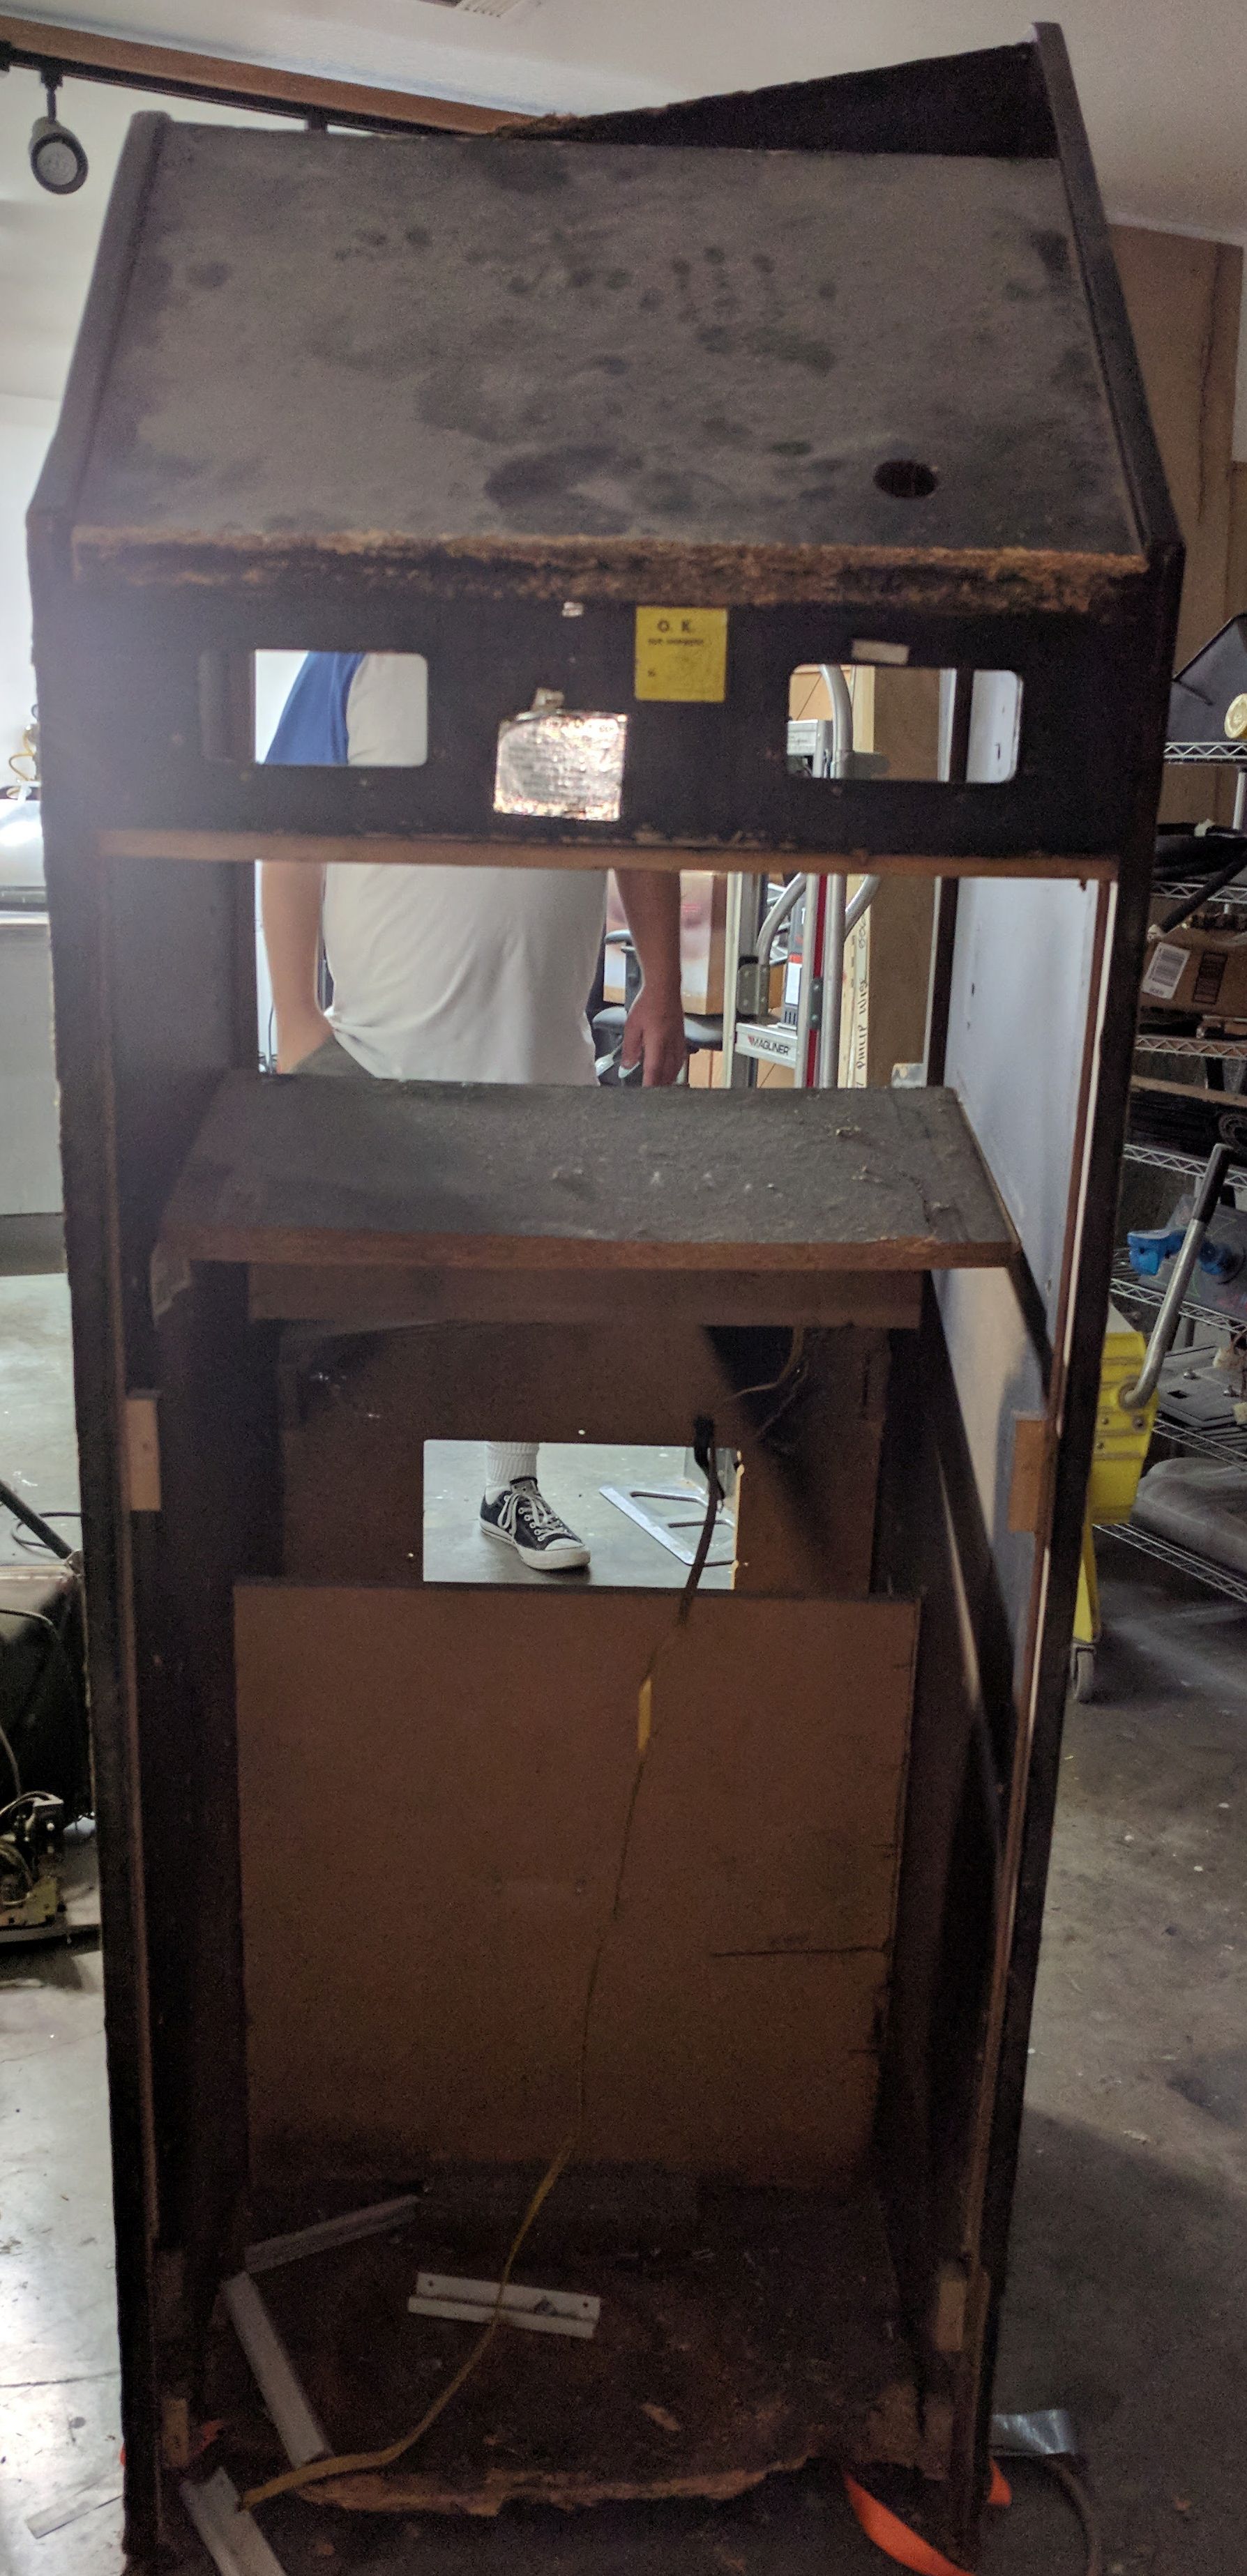
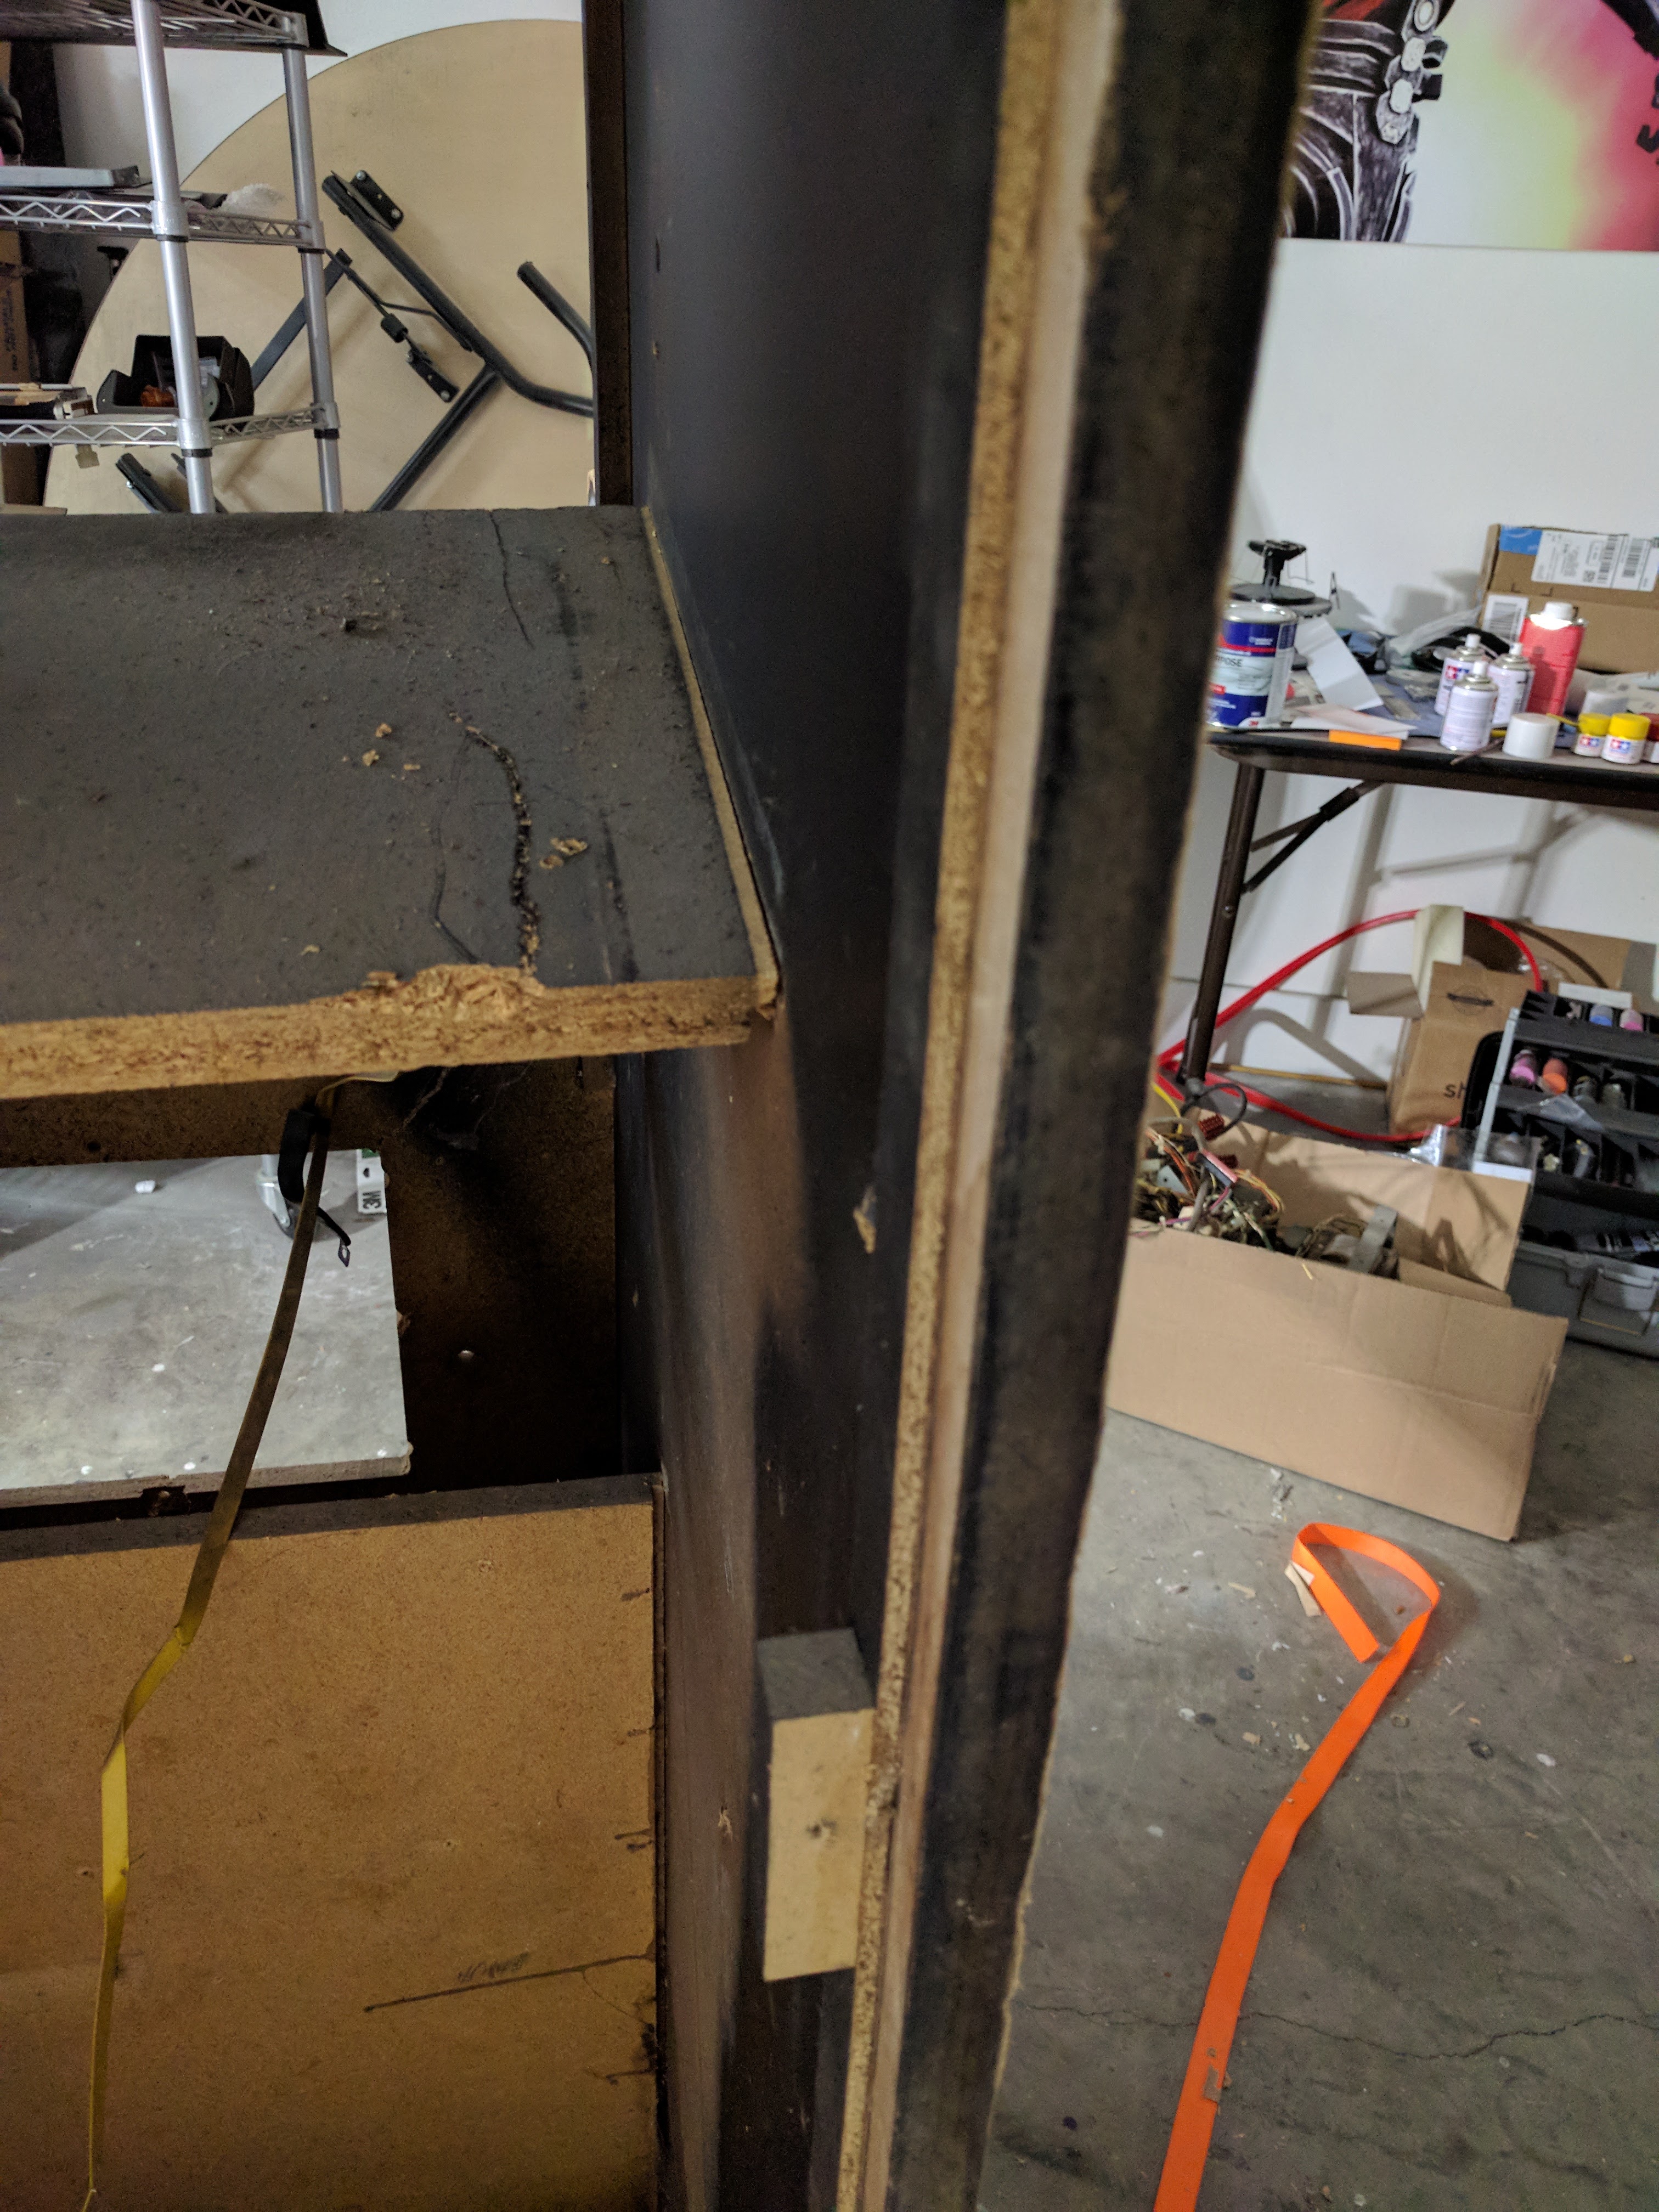
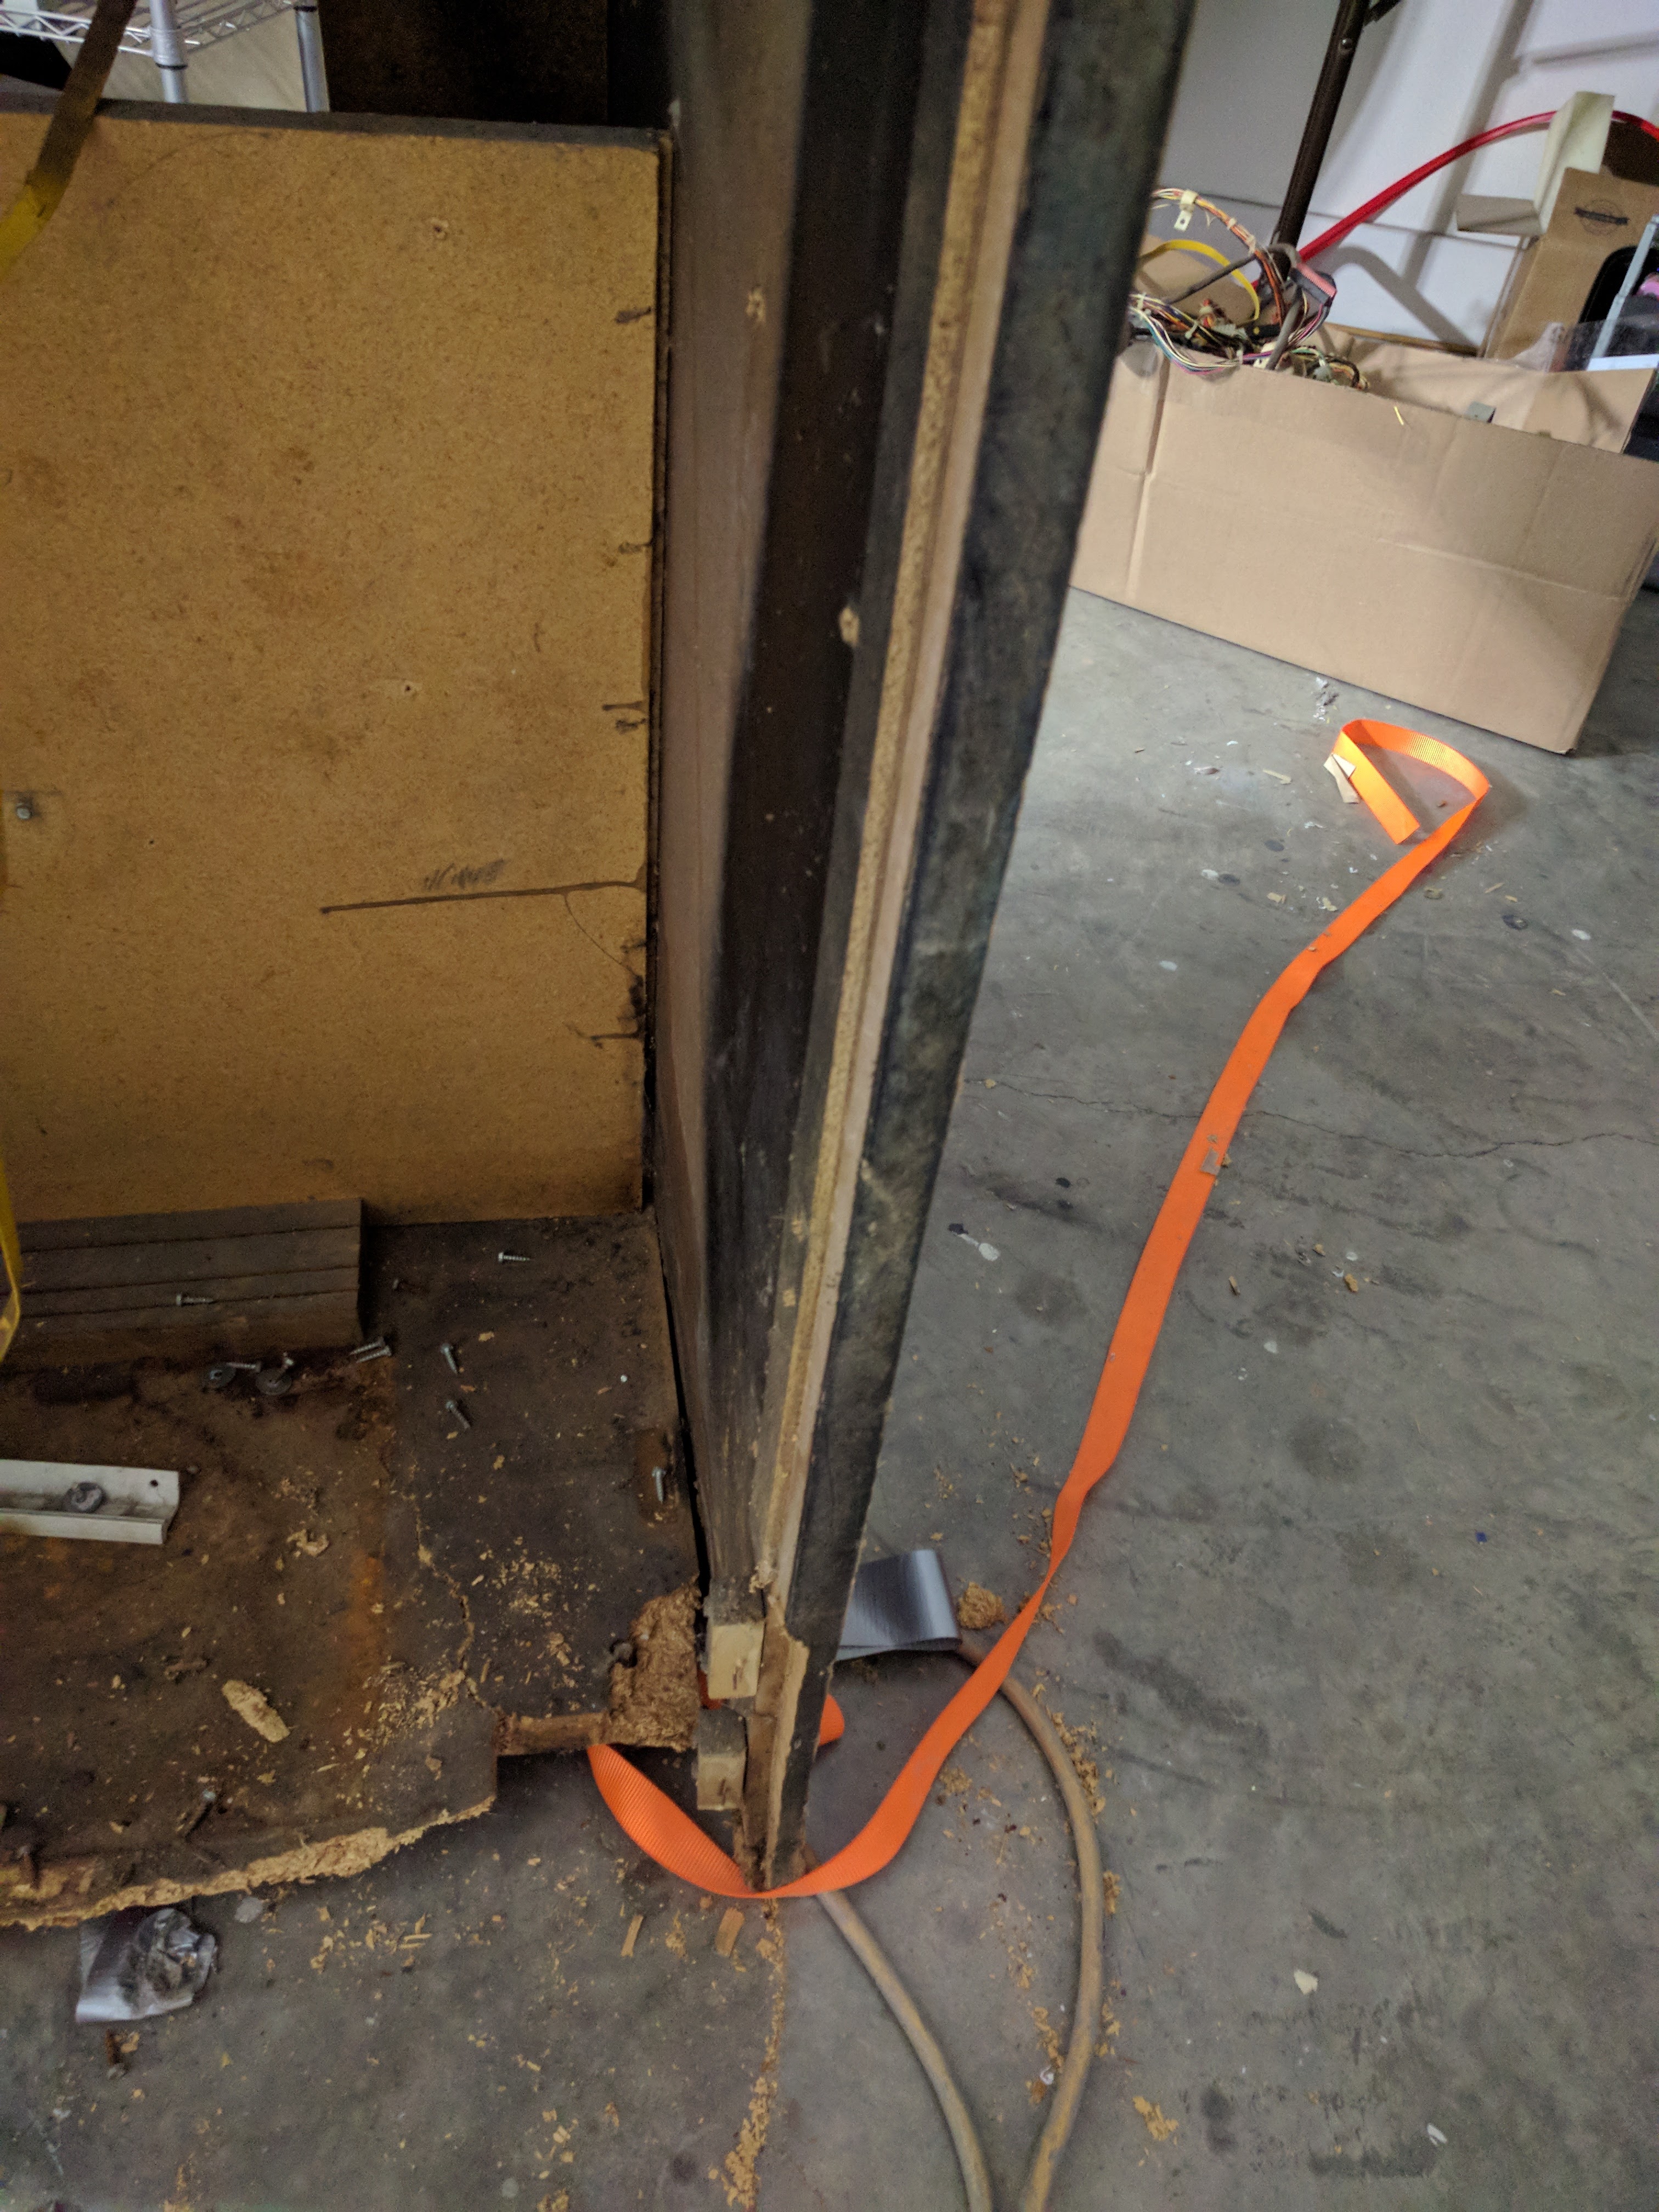
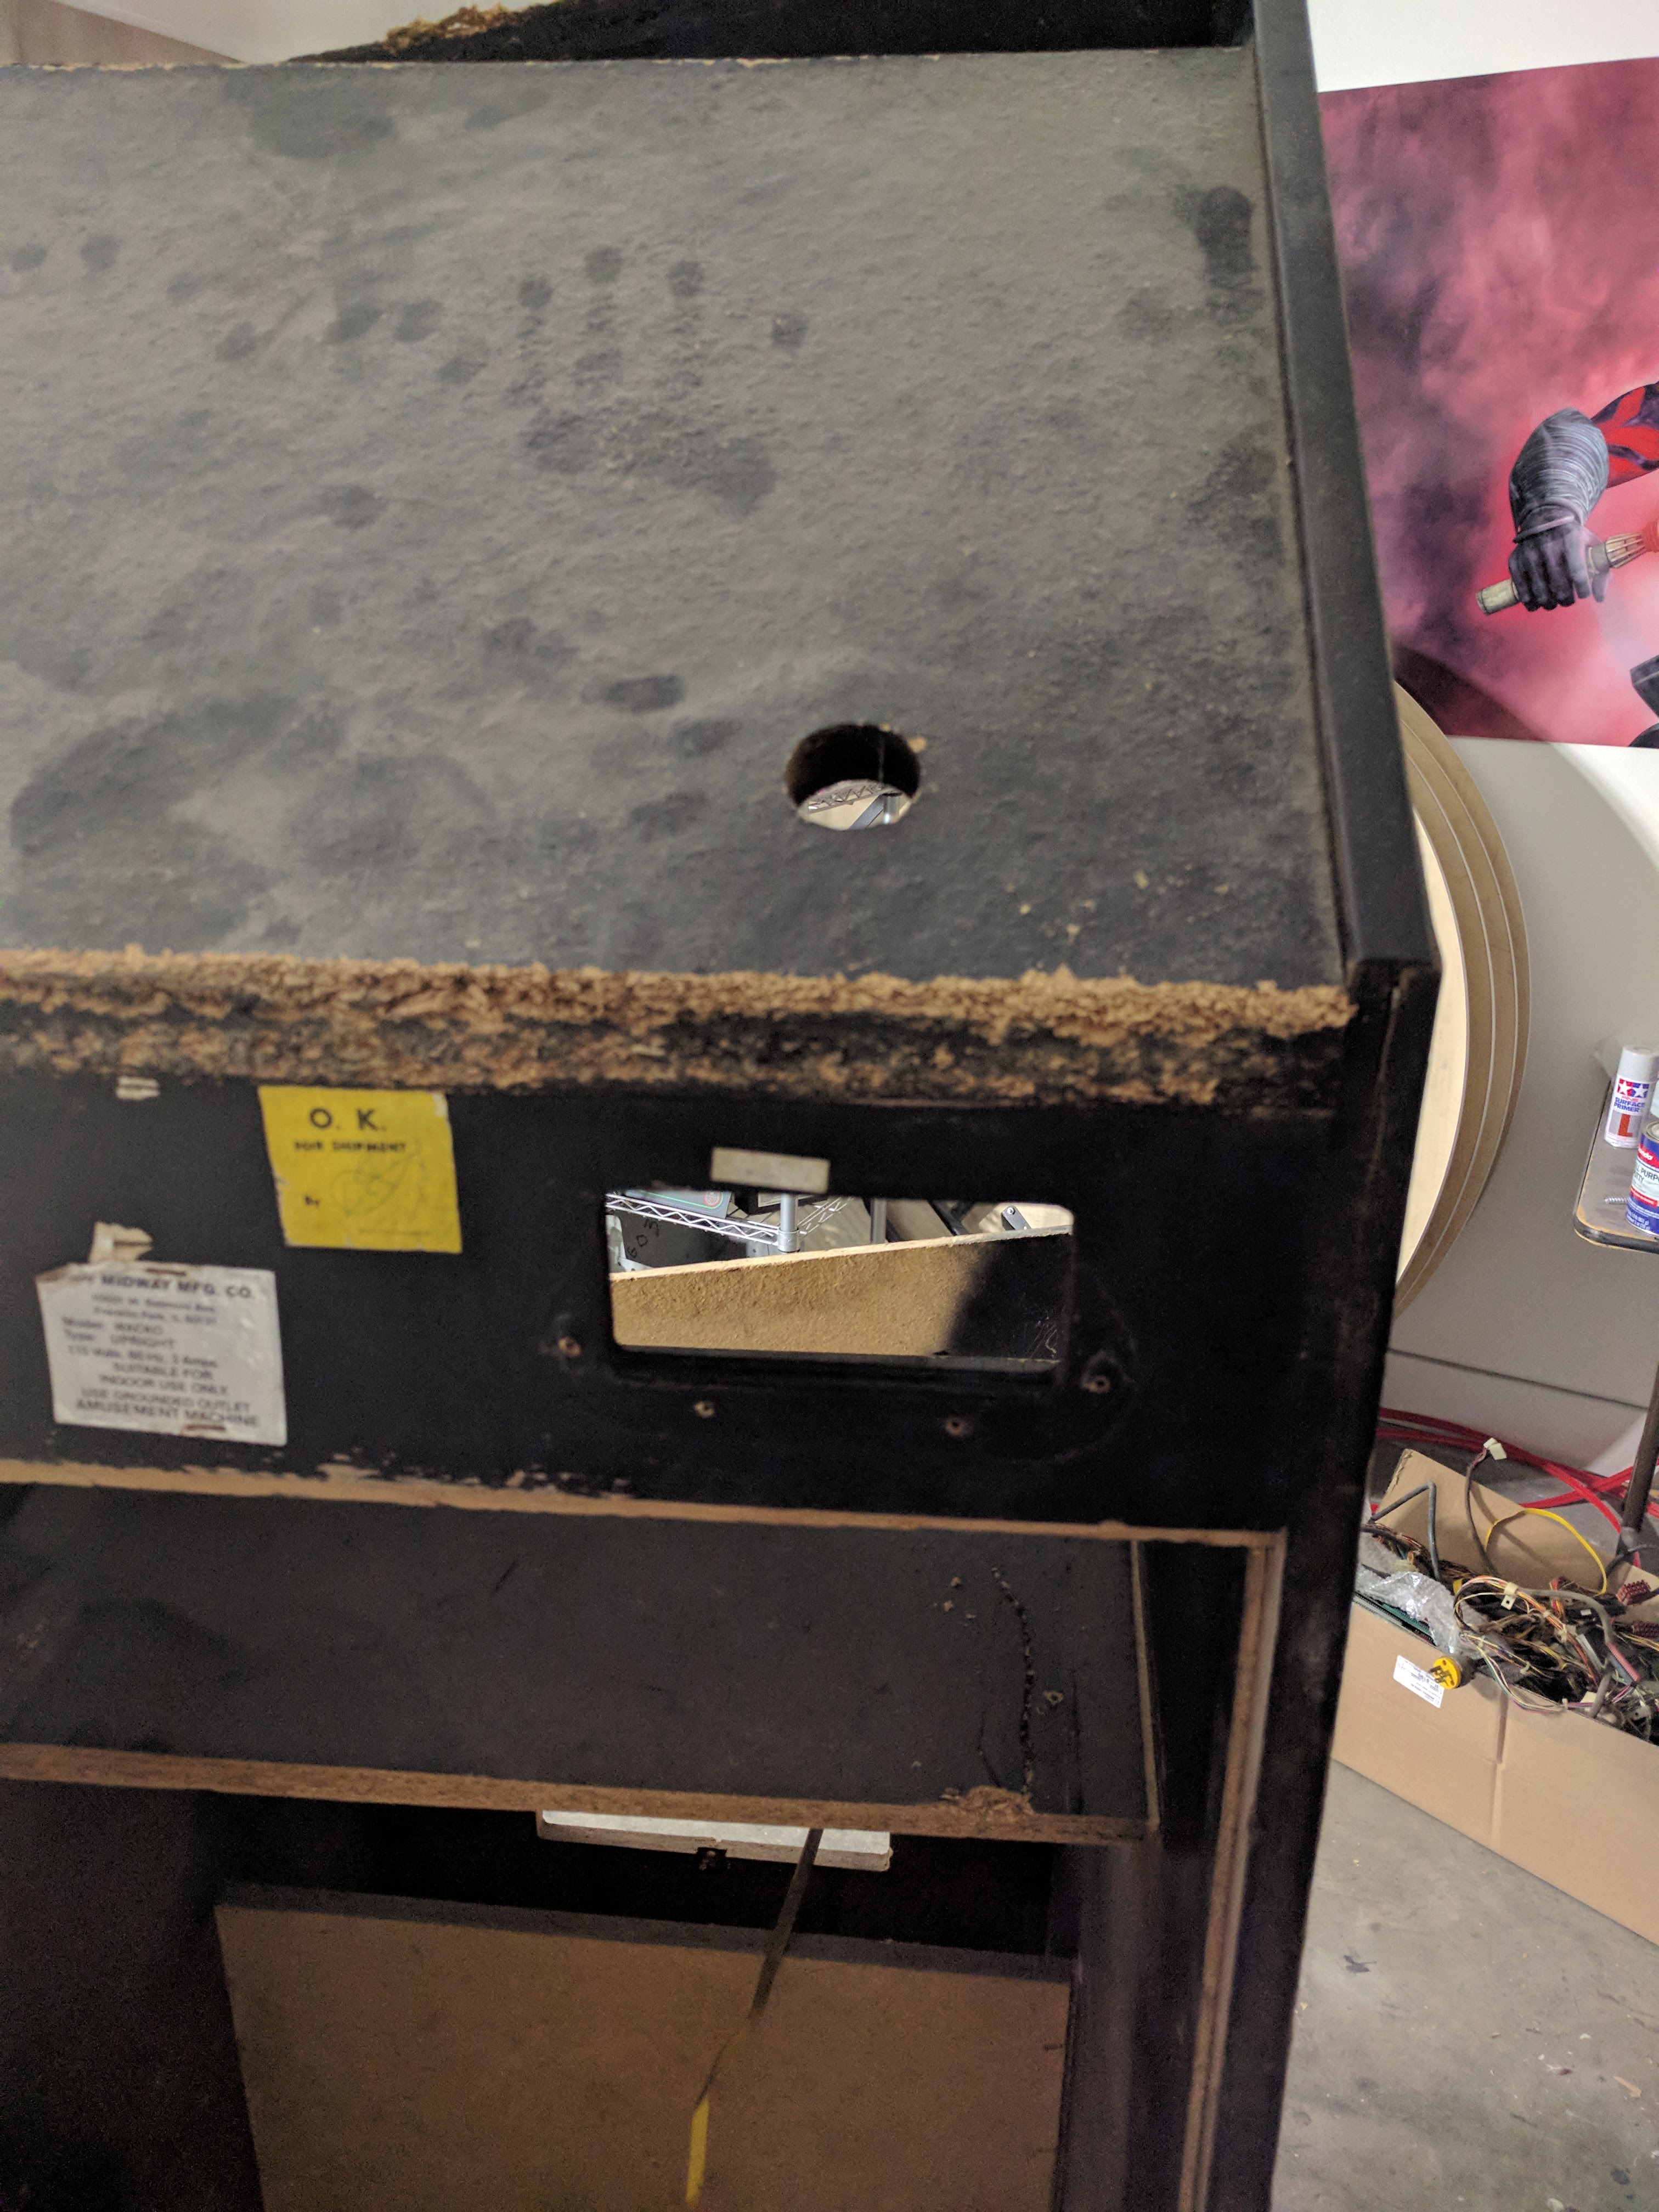
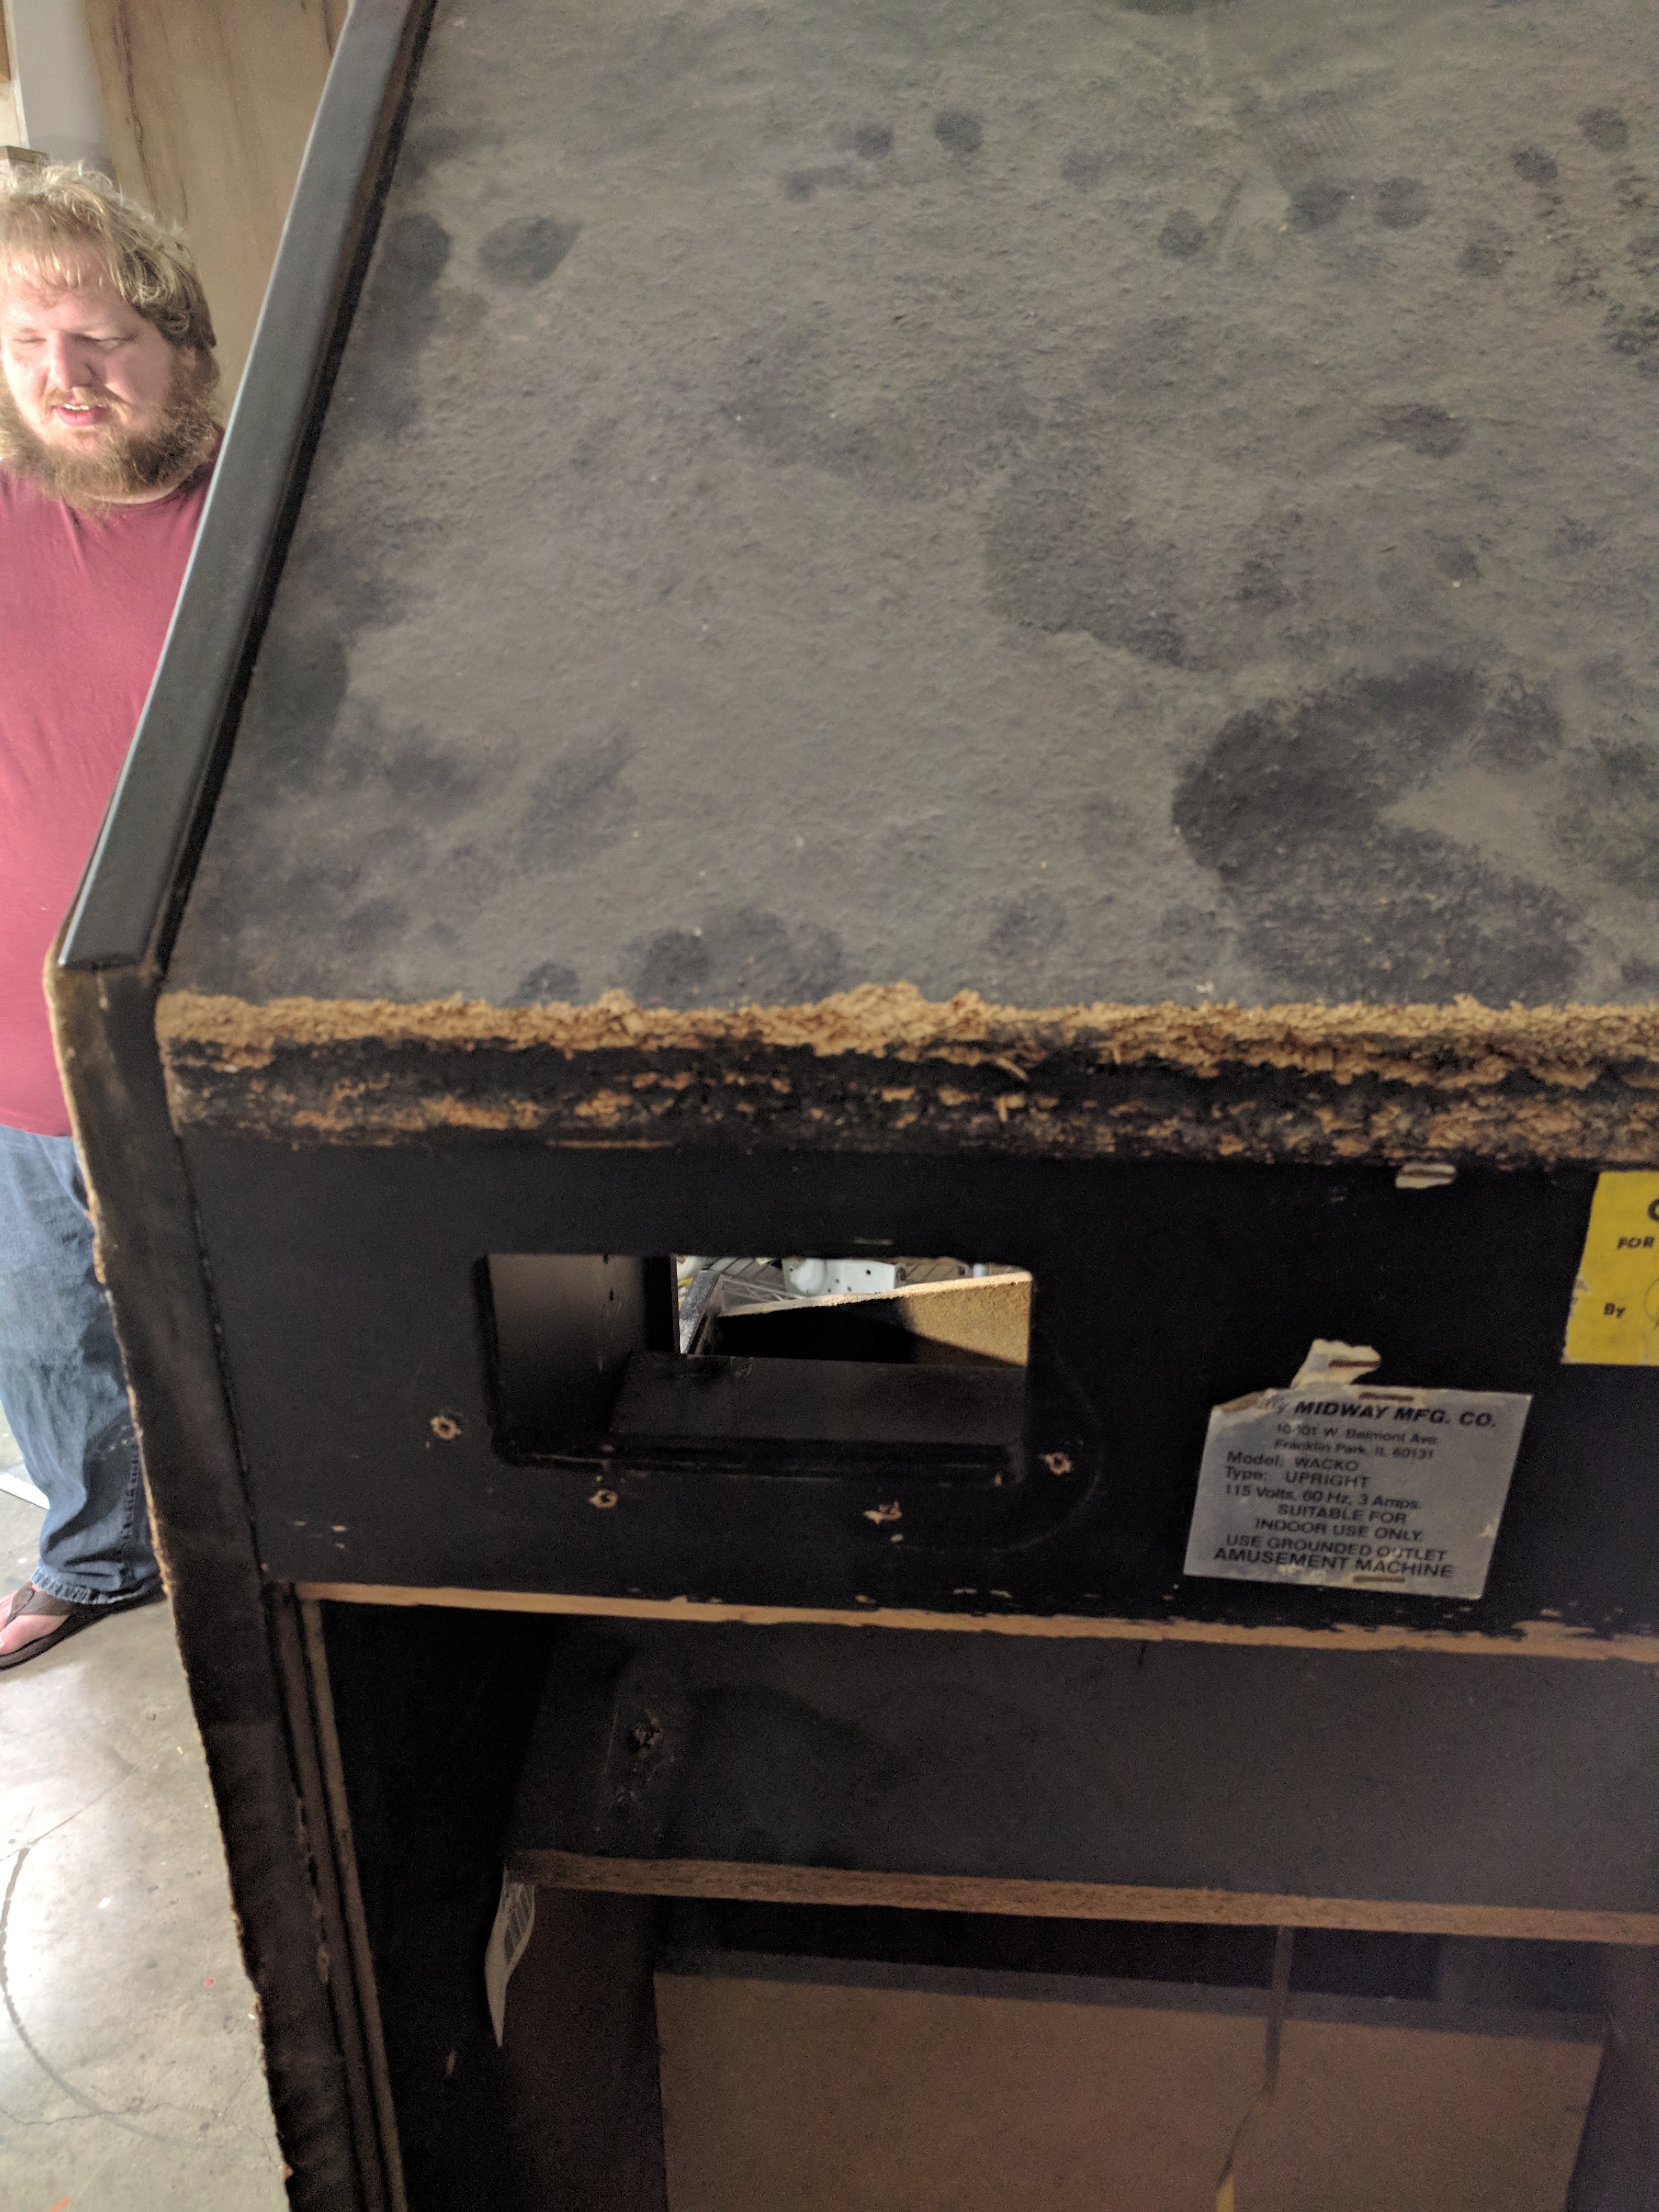
Reference Images:
Dimensions
Builder:
References:
Wall Mount: (link)
References:

| Material Volume: | cm3 |
| Box Volume: | cm3 |
| Surface Area: | cm2 |
| Model Weight: | g |
| Model Dimensions: | x x cm |
Estimated Price:
Tools Required:
Process steps:
References
 Click here to upload or drag and drop your model to the canvas.